Build and deploy a USSD application with Africa's Talking, Docker and Heroku [Python] - Part 2
Time to deploy 🚀
Welcome back! We just built an entire USSD application in the previous tutorial but we hadn't made it available over the open internet for it to access Africa's Talking services. Over the next few minutes we will:
- Deploy our application to Heroku
- Use our new URL to set up a USSD code on Africa's Talking
Let's get to it!
Setting up
Docker
Get docker installed for your machine. You can follow their guides here. Once installed run:
docker --version
Also, we'll create a new file Dockerfile.
Heroku
Getting started with Heroku is quick and easy; sign up or log in and we should be good. Once signed in, install the Heroku CLI here.
Head over to your terminal (on the same project as before) and type the following:
heroku login
This will prompt you to login on your browser. If you already have it should seamlessly login and we are set!
Creating a Docker image of our application
We are containerizing our application using Docker which allows us to:
- Ease our deployment process and configuration
- Build highly scalable applications
- Isolate services
To create a snapshot of our application, also called an image in docker speak we'll add the following into our Dockerfile:
FROM python:3
WORKDIR /code
ENV FLASK_APP app.py
ENV FLASK_RUN_HOST 0.0.0.0
COPY requirements.txt requirements.txt
RUN pip install -r requirements.txt
COPY . .
CMD ["python","app.py"]
This is what is happening:
- The first line creates a container built on the Python 3 Alpine image which a lightweight linux distribution.
- Line 2 sets the working directory as code
- Line 3 sets the default flask application as app.py. This is an environmental variable
- Line 4 sets the default host to
0.0.0.0. This is an environmental variable as well - We then copy requirements.txt into the container
- We install the packages defined in the requirements.txt file into the container
- We copy all the project files into the container's working directory which is
/code. - We then execute a command
python app.pyin the container's terminal
We have essentially finished setting up our container. We just need to run a few commands to get up and running to talk to the Africa's Talking service.
Firstly, we will build our container into an image. We ask docker to build this container, tag it ussdapp and use the Dockerfile in this folder.
docker build -t ussdapp .
Secondly, we will create a heroku app.:
heroku create
We now have an project on Heroku that can actually host our application. The Heroku CLI displays it on your terminal. We then set up heroku to take our container for deployment:
heroku container:push web --app <YOUR_APP_NAME>
The container will be published but it's still not live. Next, we make it live with this command:
heroku container:release web --app <YOUR_APP_NAME>
We are now live!!!!
You can view your application on your Heroku dashboard or view logs from the container using:
heroku logs --app <YOUR_APP_NAME> --tail
Setting up your USSD Code on Africa's Talking
Head over to your Africa's Talking dashboard and create a USSD code. The sandbox only allows for two codes. However, you can delete or reuse them as per your preference.
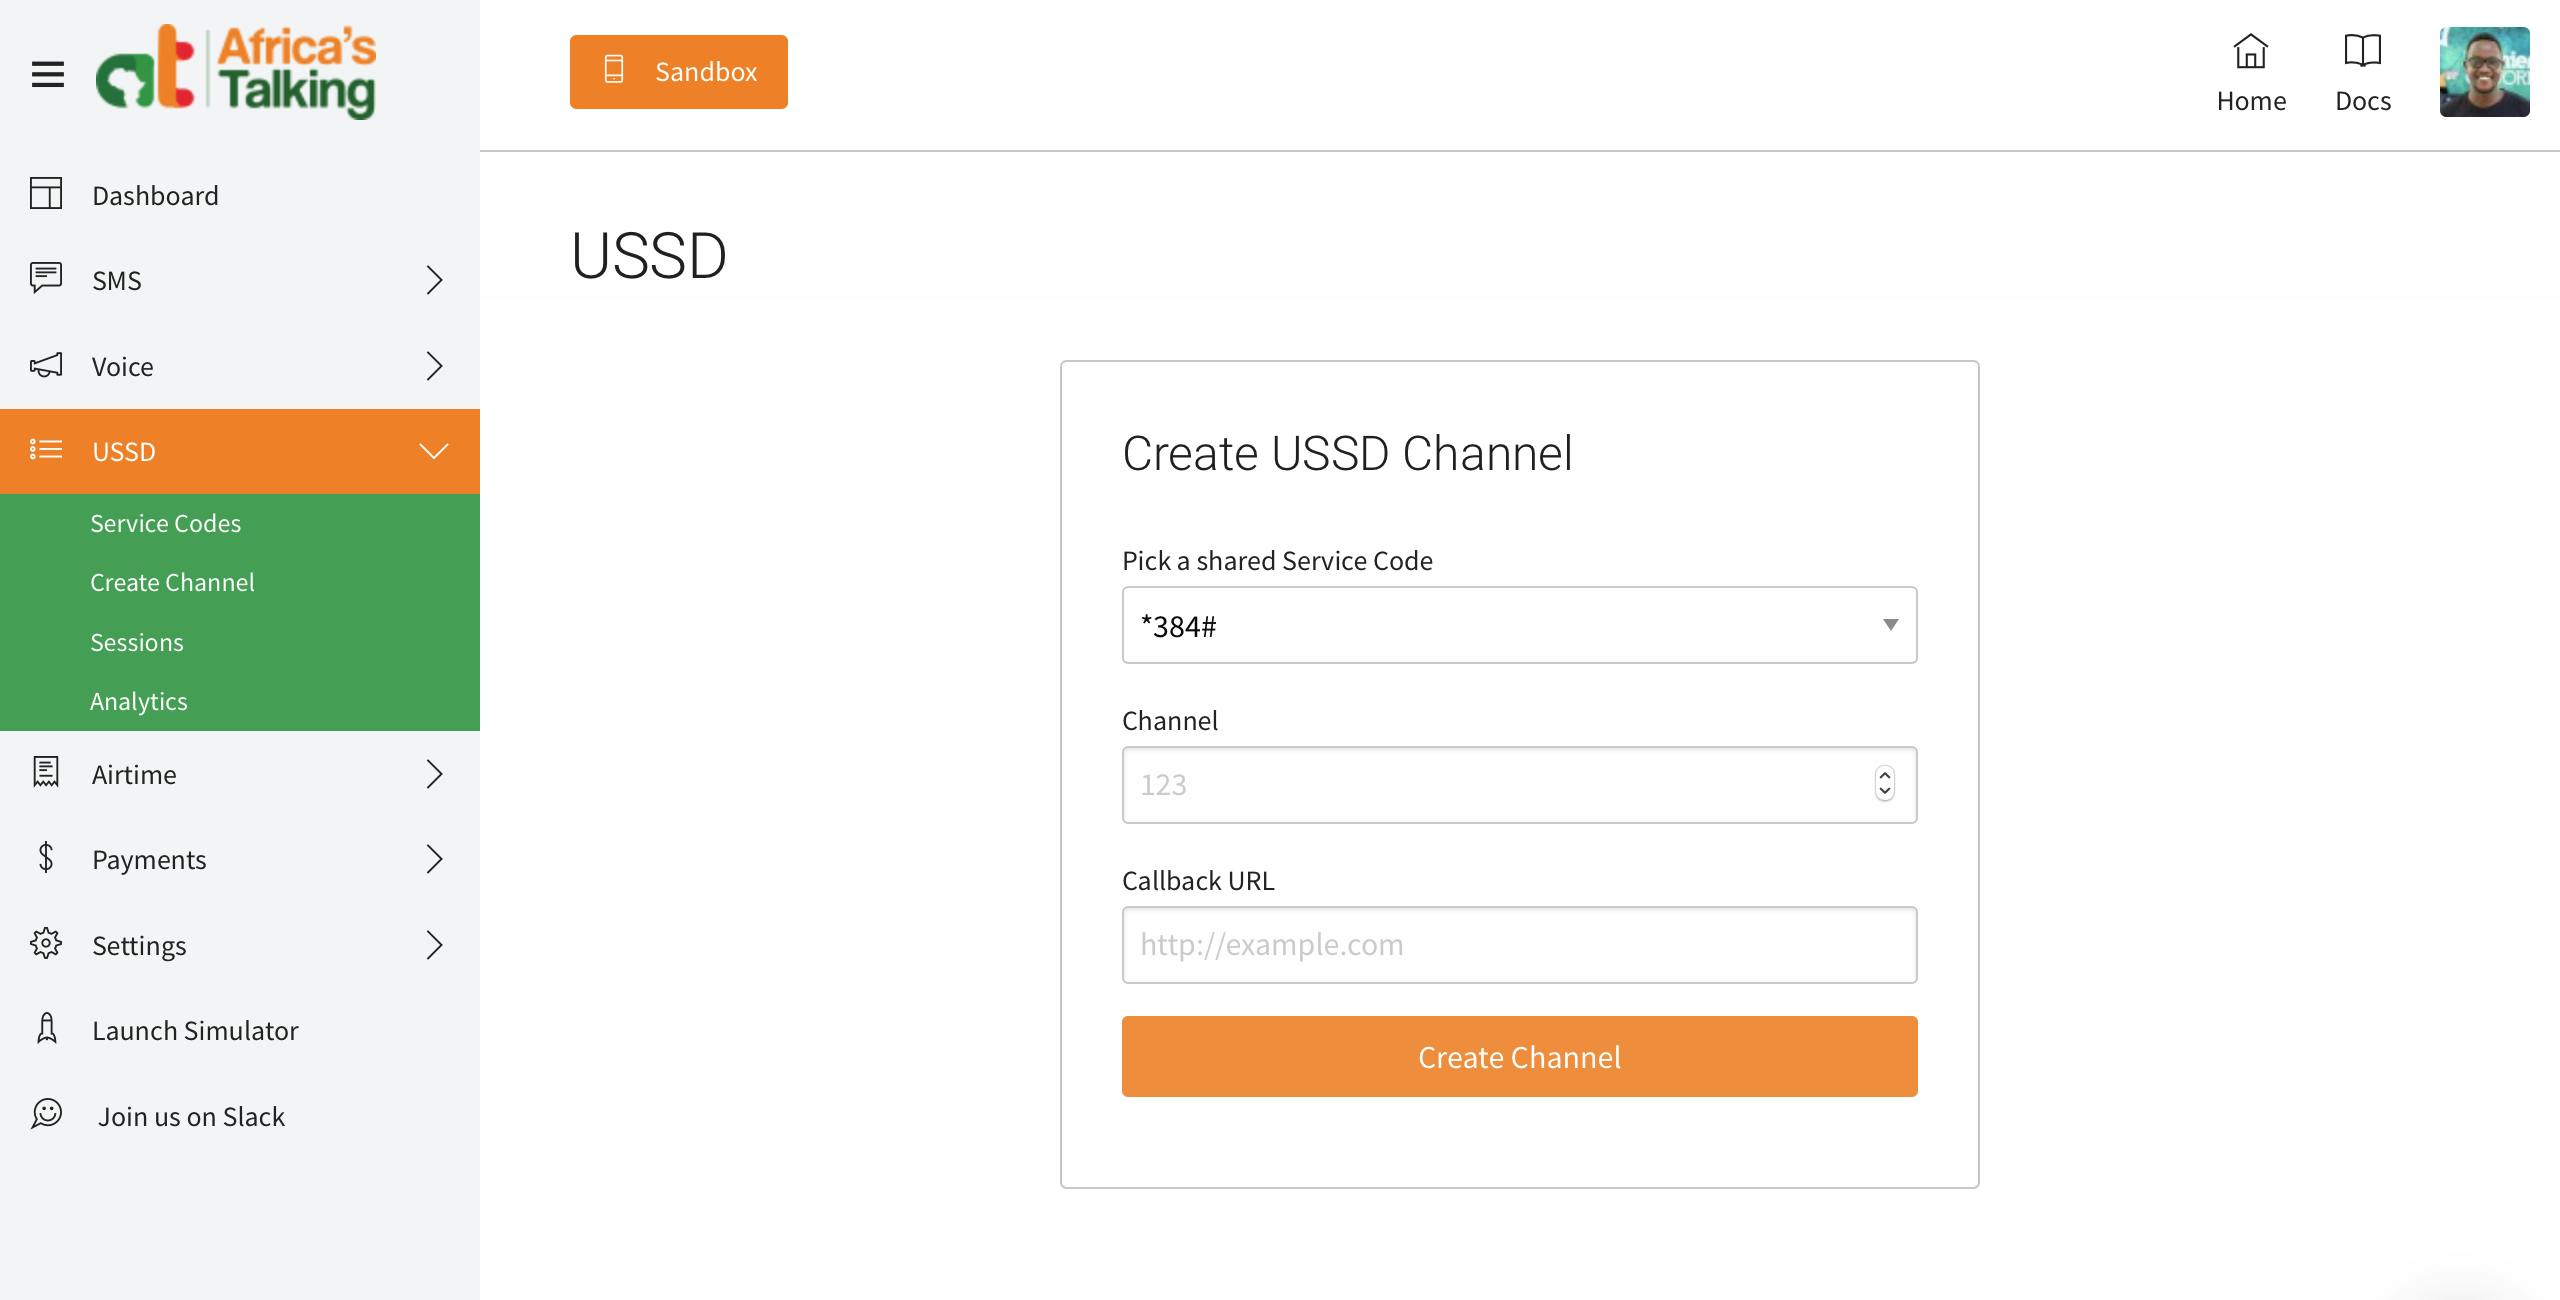
On your callback, get the URL from your Heroku app and add it as your callback URL.
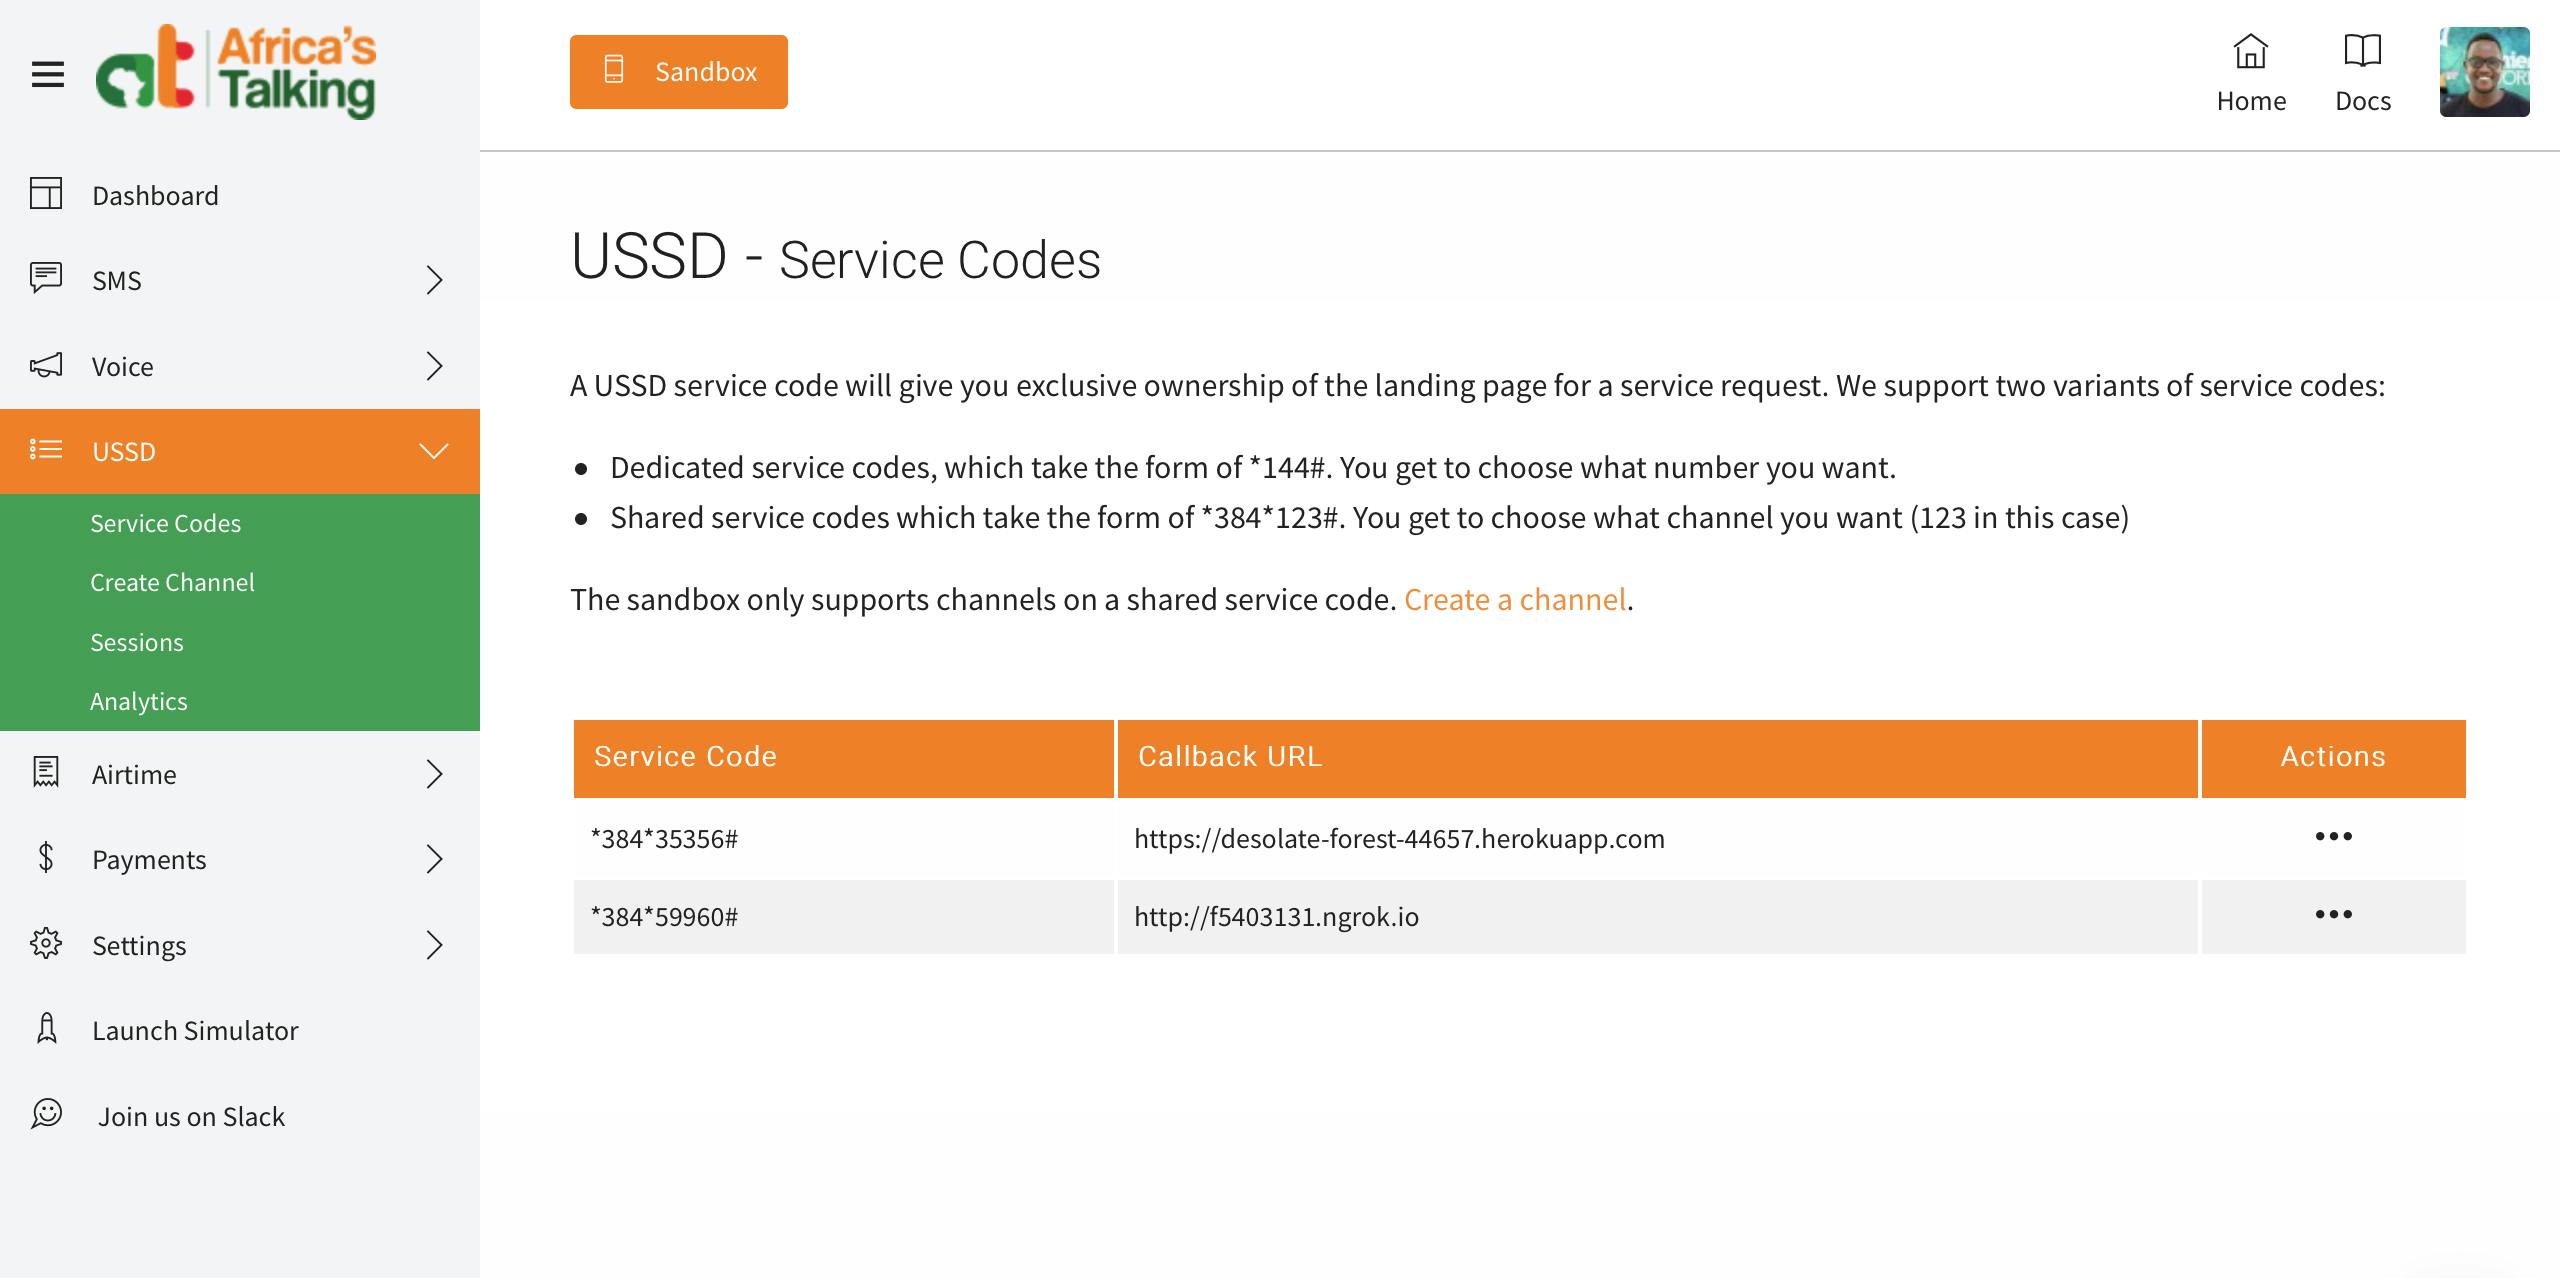
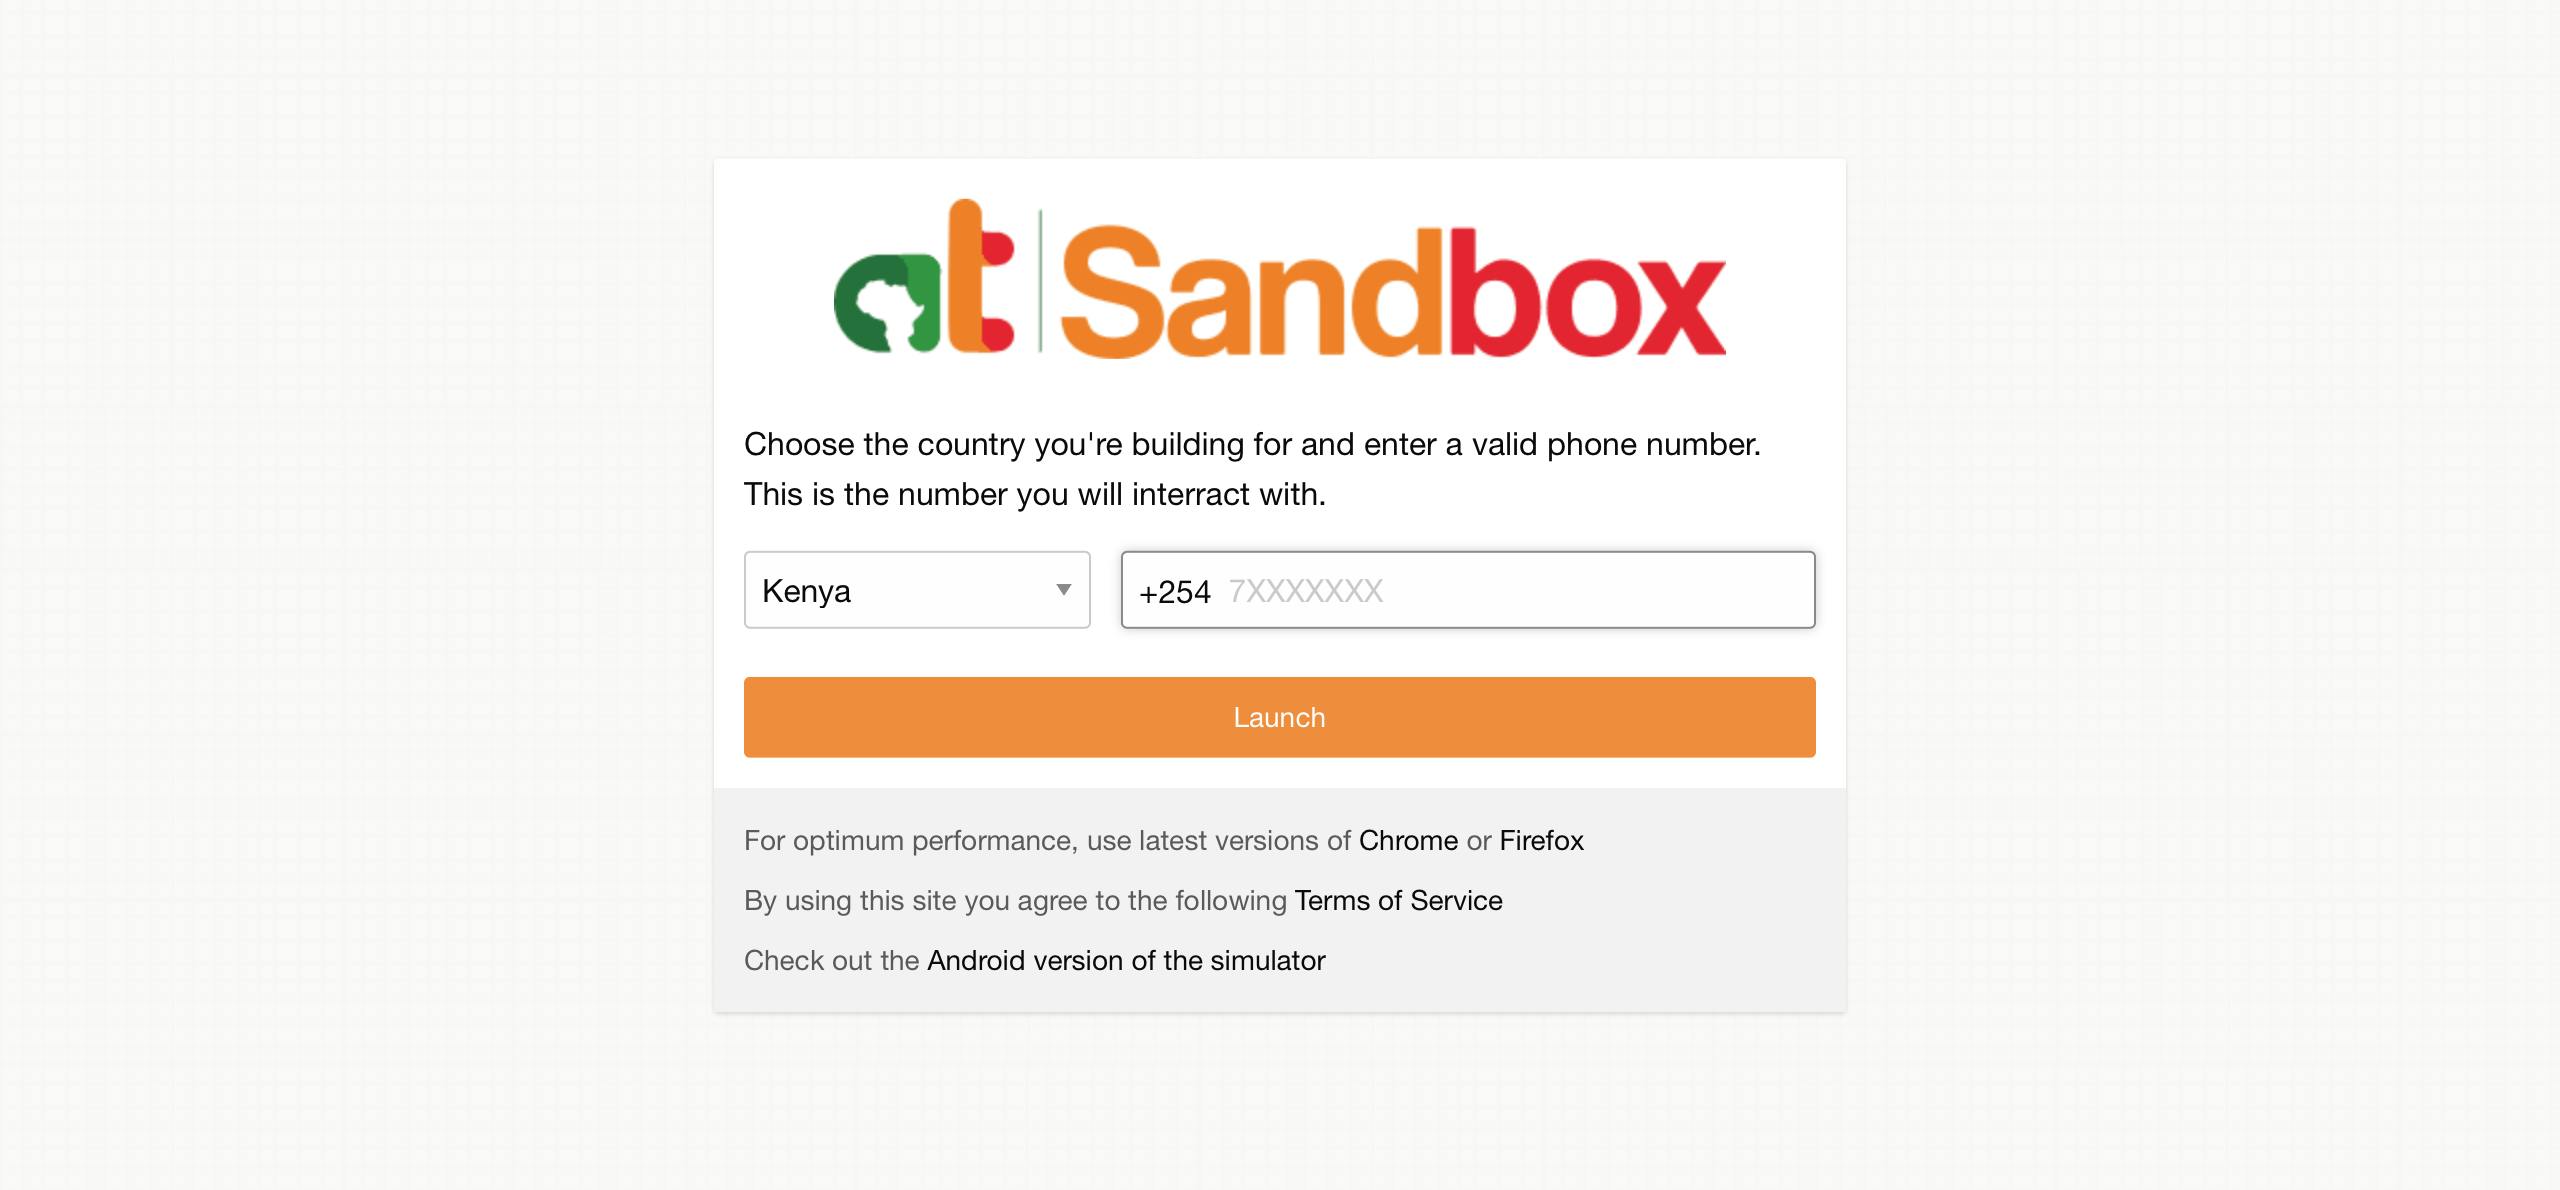
Once set, we can launch the simulator which will help us test our USSD app. To use the simulator, enter your phone number and click on USSD. Type in the code that you created earlier.
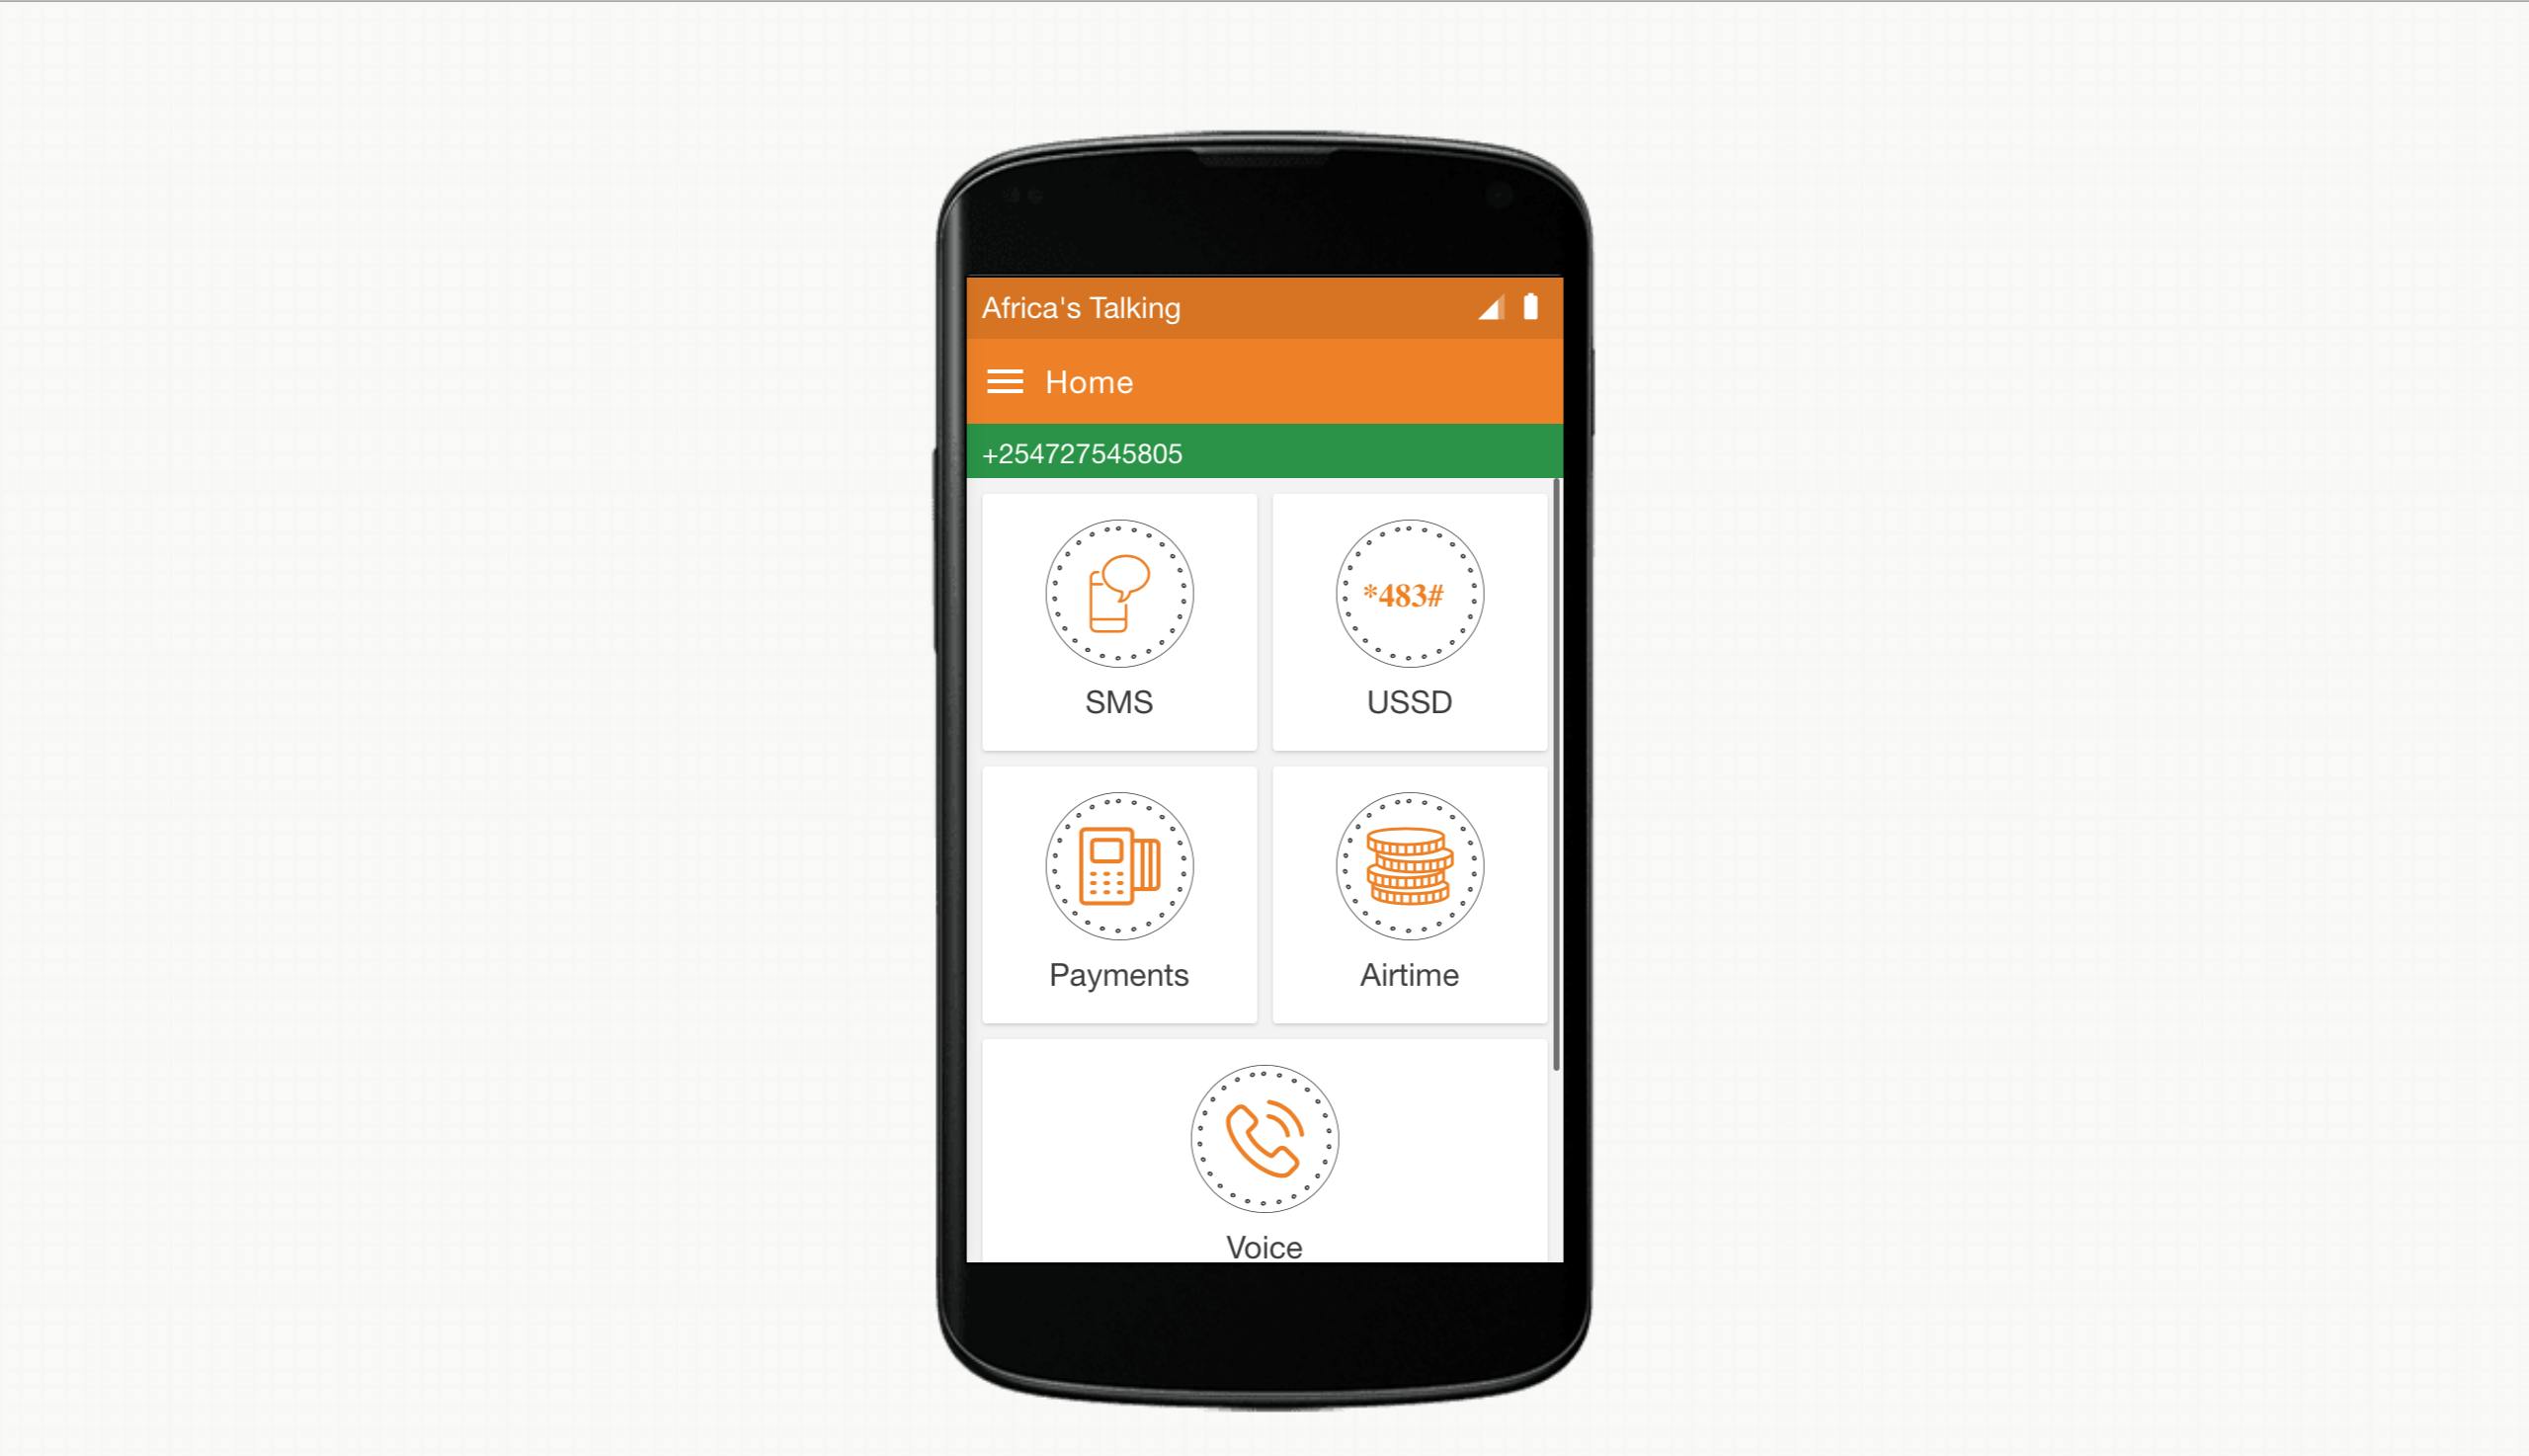
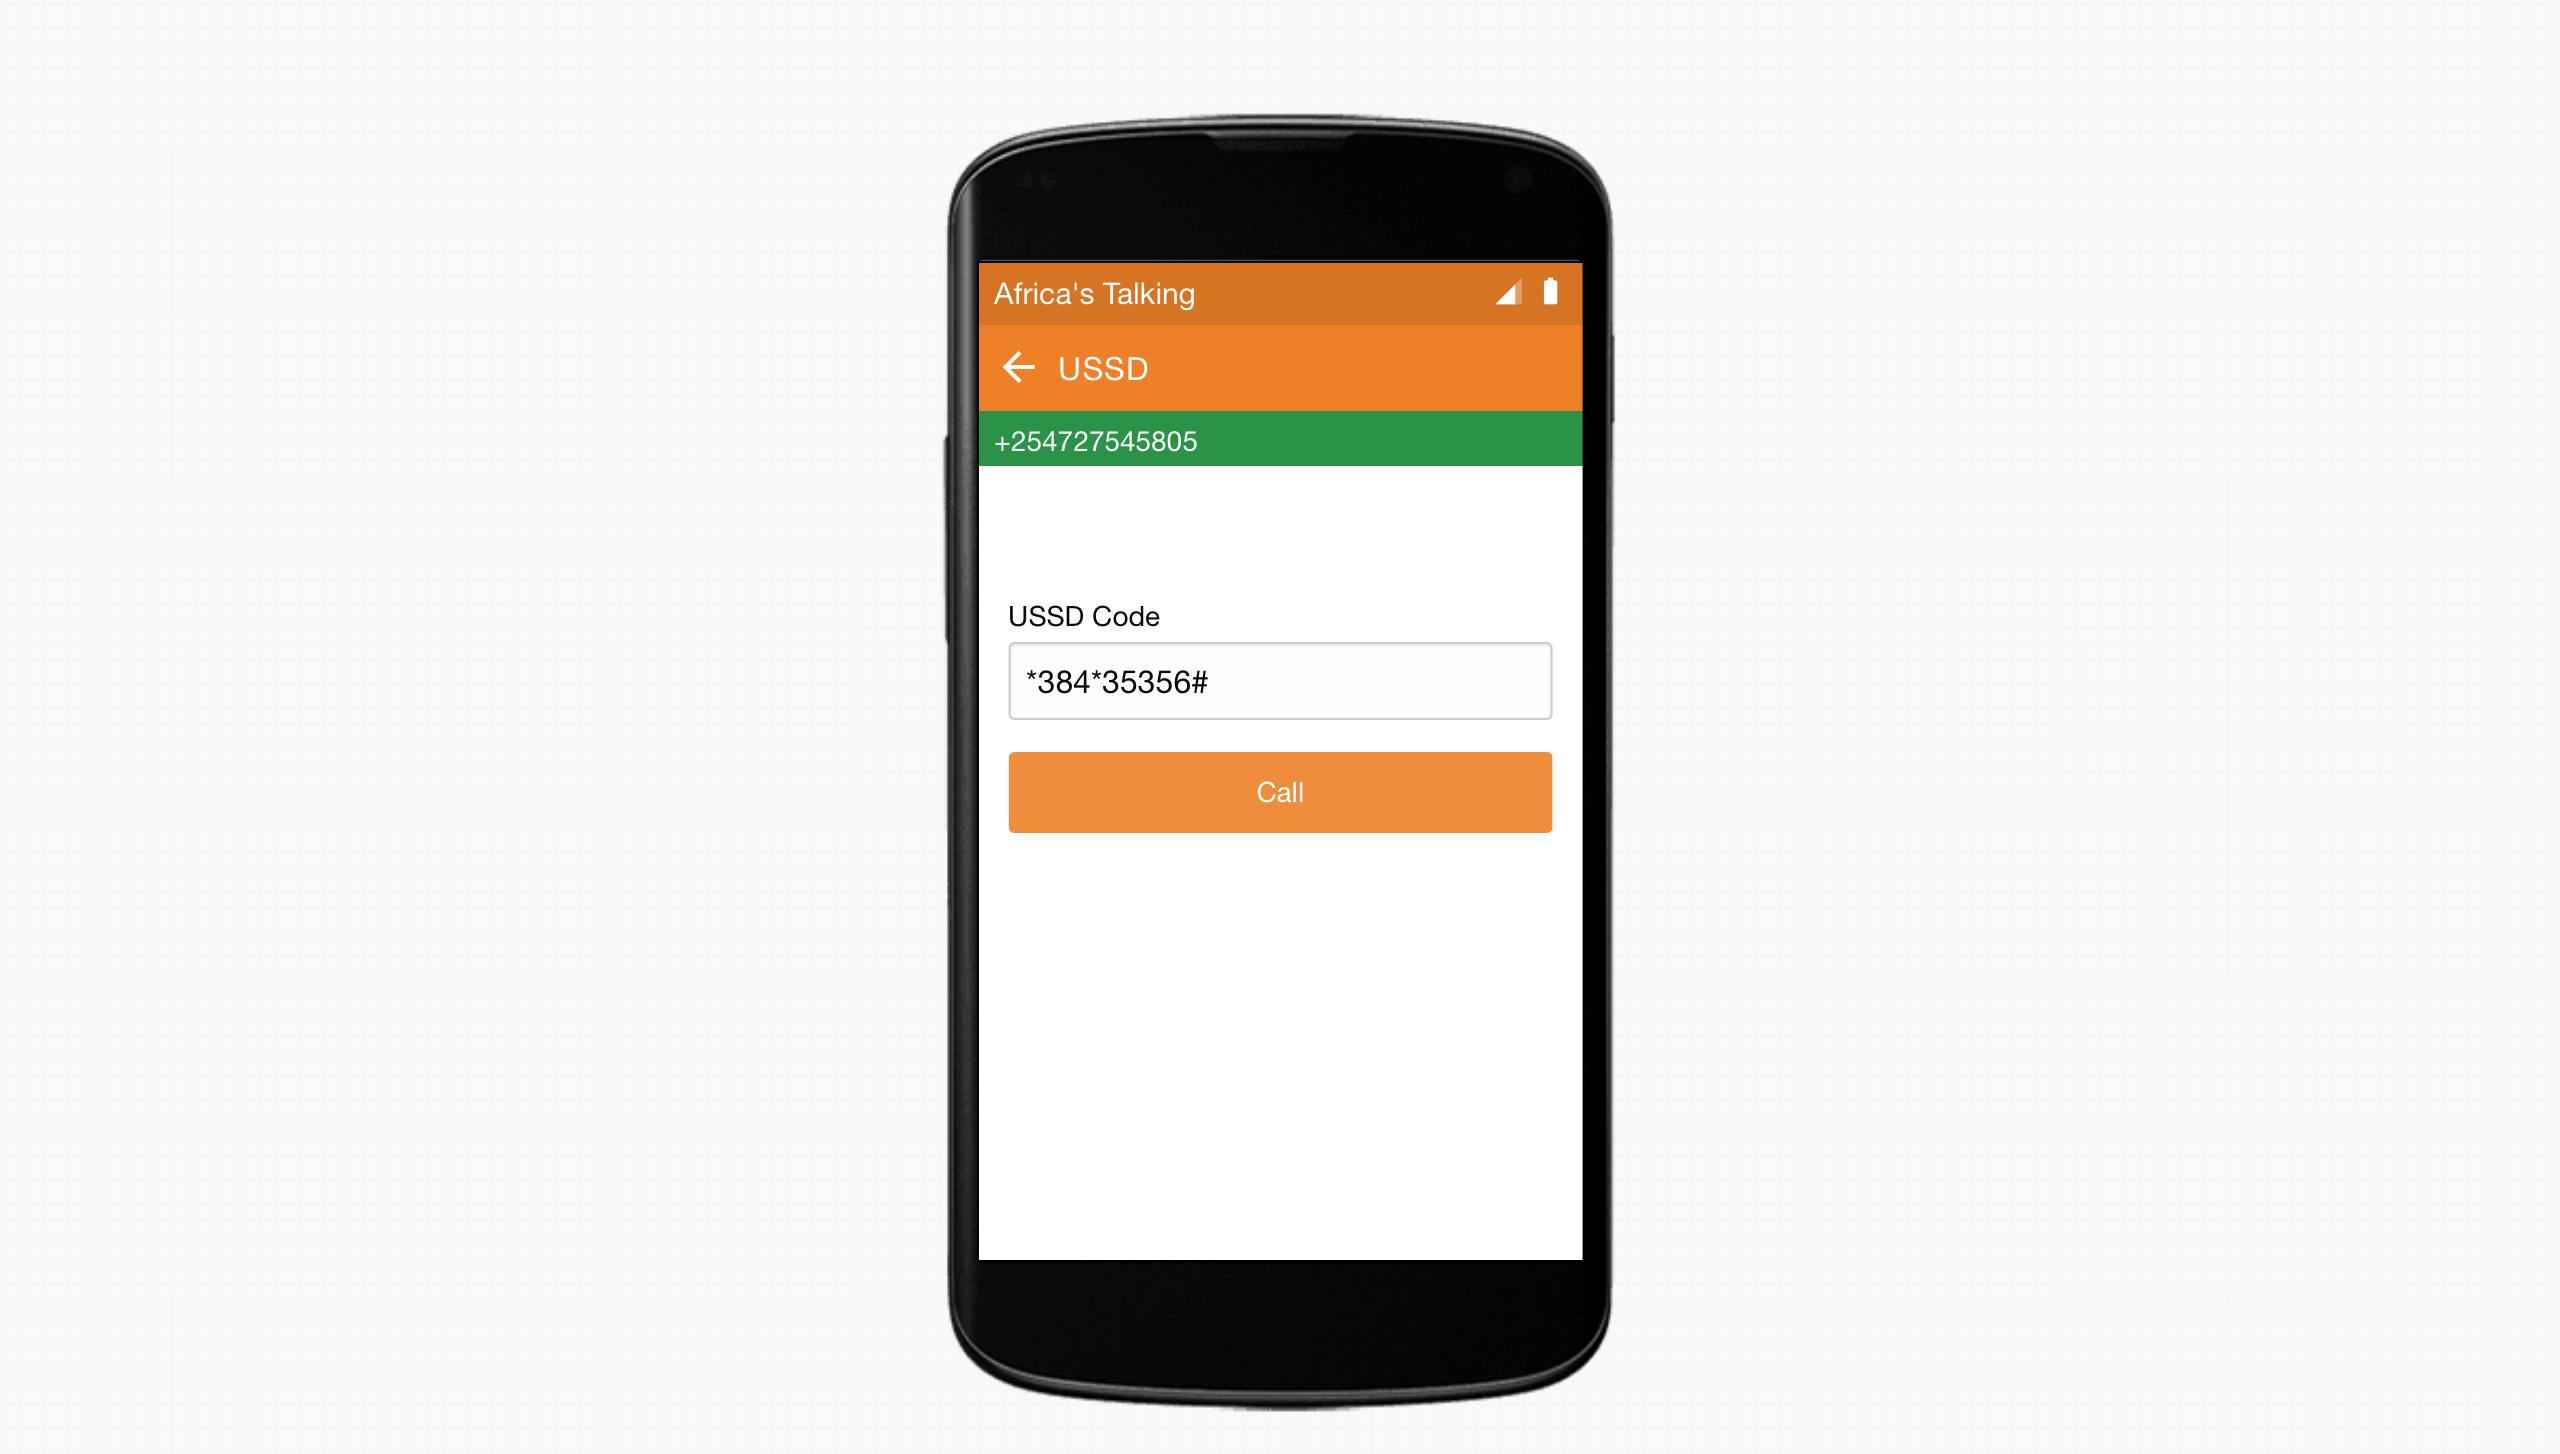
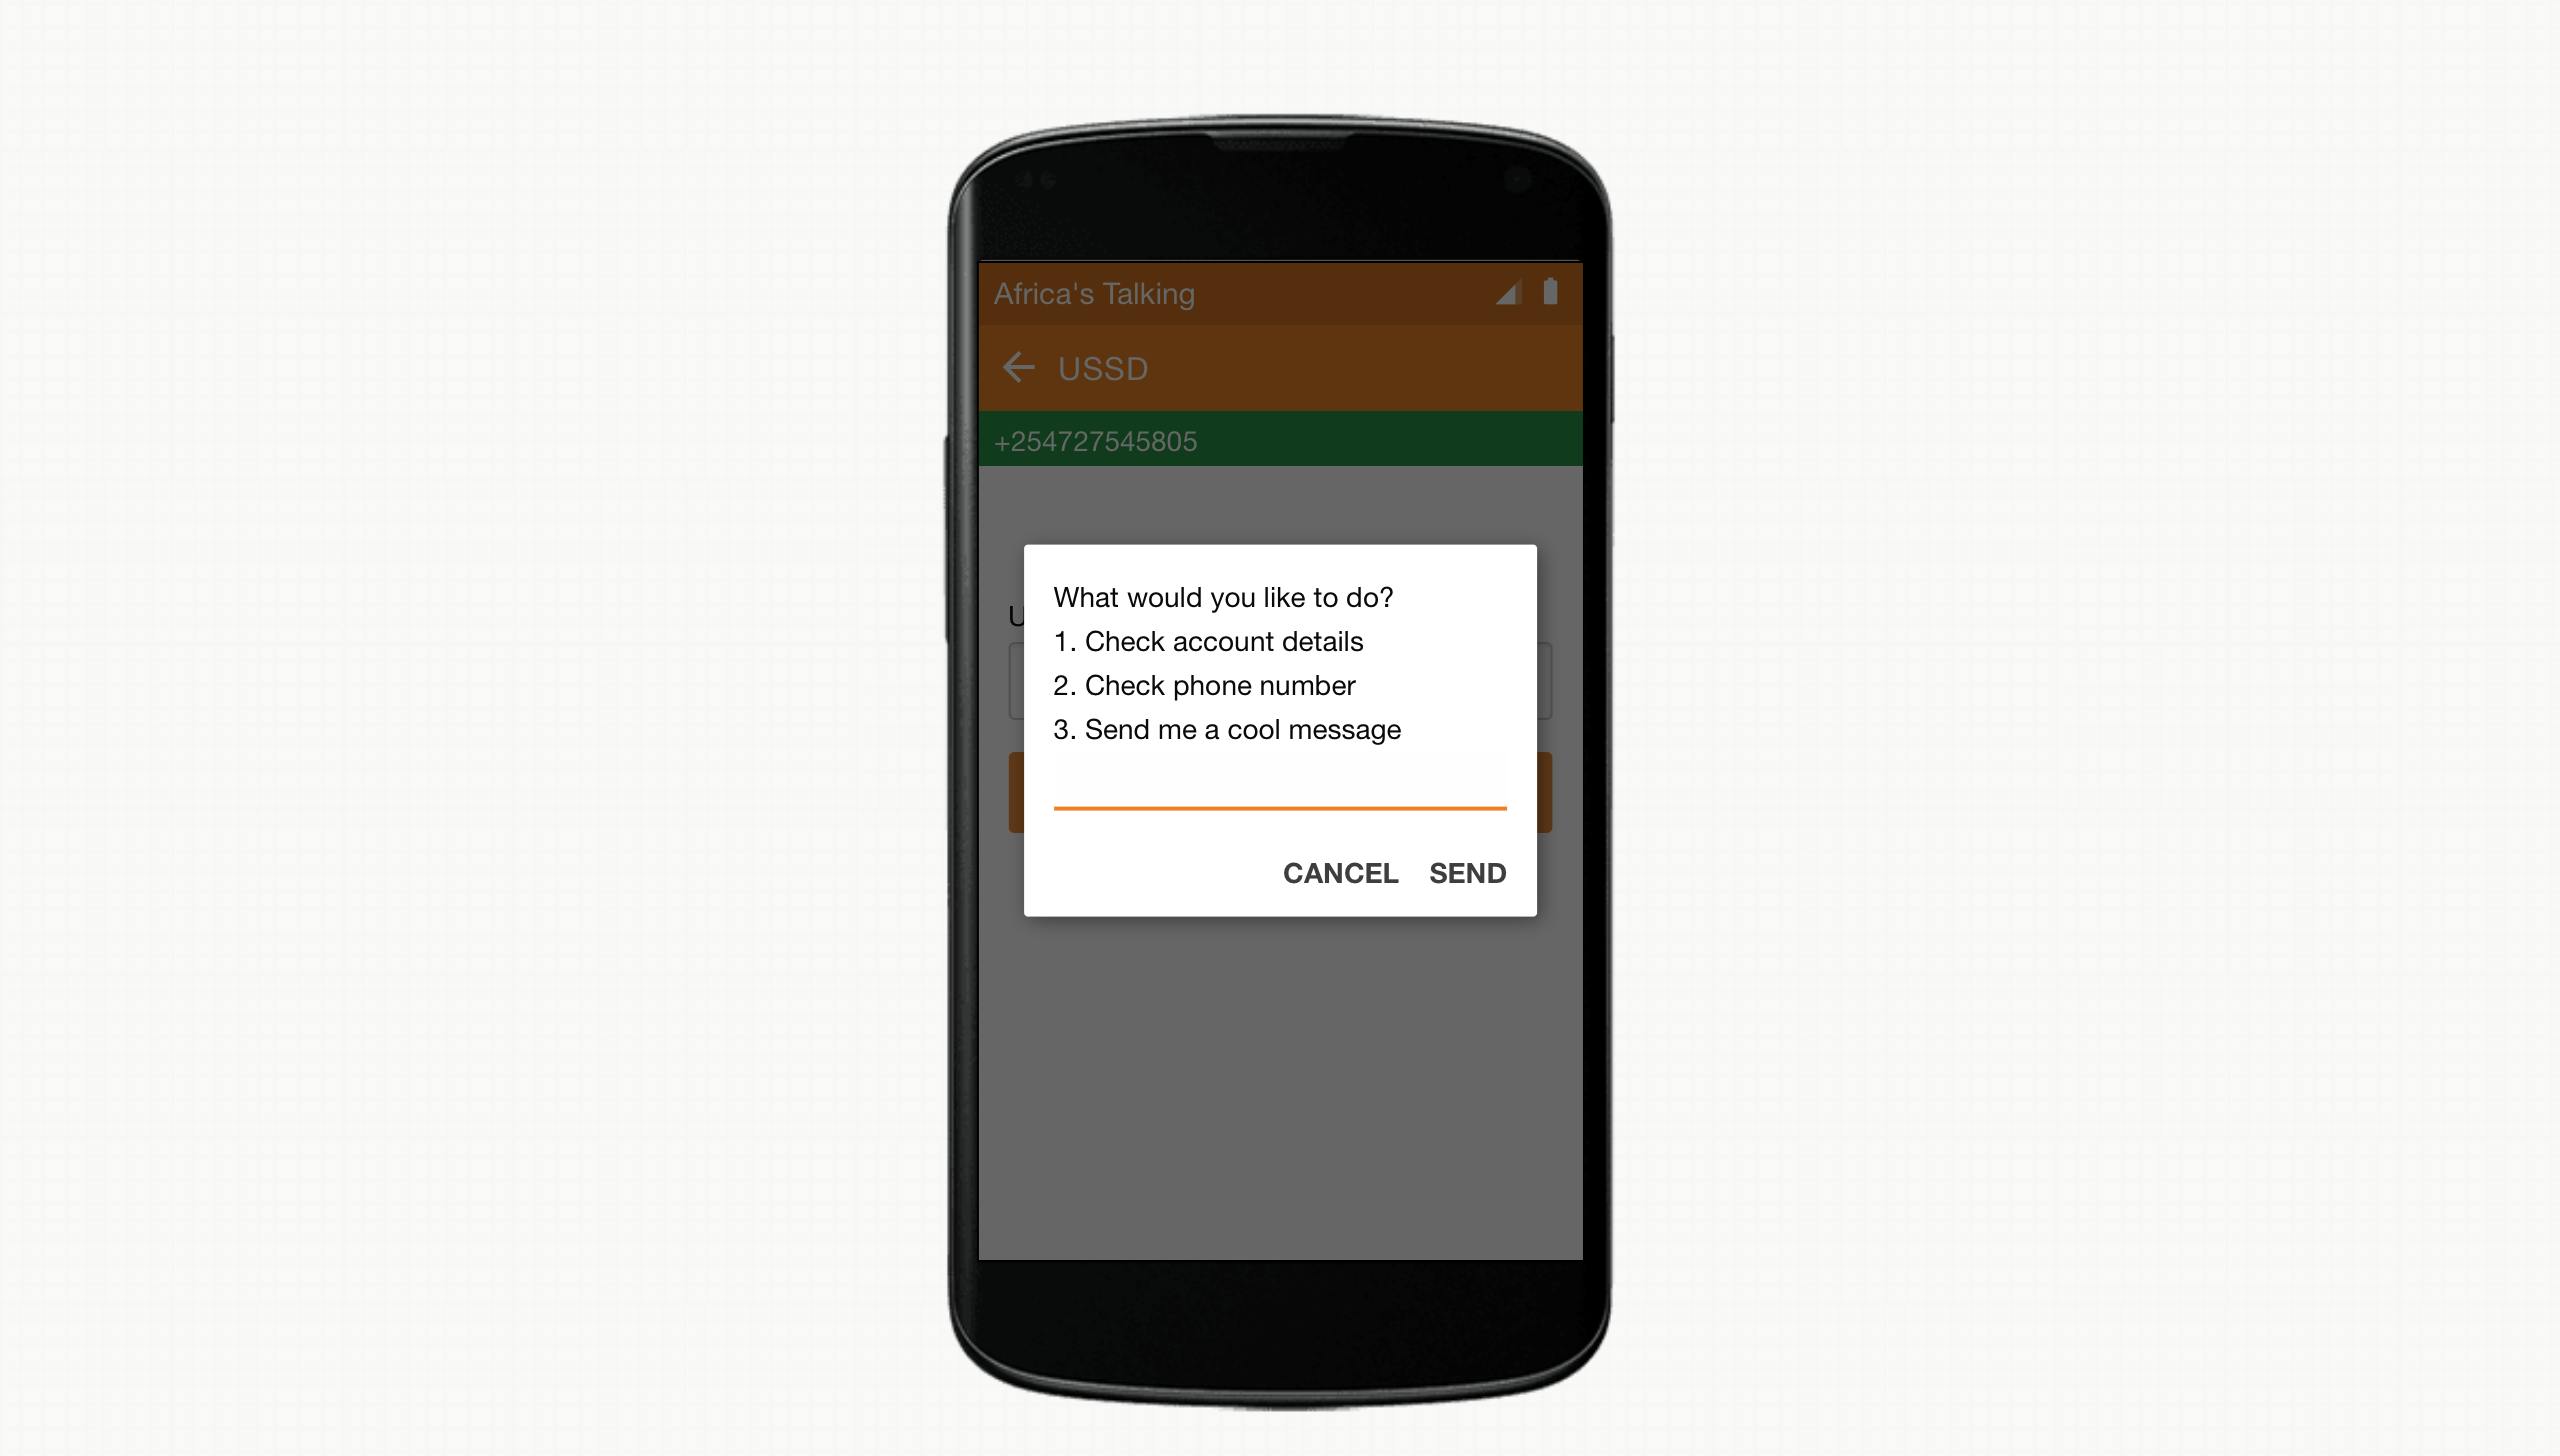
And voilà! You have a USSD application deployed and out in the world.
Final words
Reach out to me or the Africa's Talking USSD team if you're interested in setting up a USSD application.
It was fun writing this tutorial. Please leave a comment on articles you would like to see around the Africa's Talking platform and tech in general.

![Build and deploy a USSD application with Africa's Talking, Docker and Heroku [Python] - Part 2](https://cdn.hashnode.com/res/hashnode/image/upload/v1567884504669/-4RWoDWlo.png?w=1600&h=840&fit=crop&crop=entropy&auto=compress,format&format=webp)